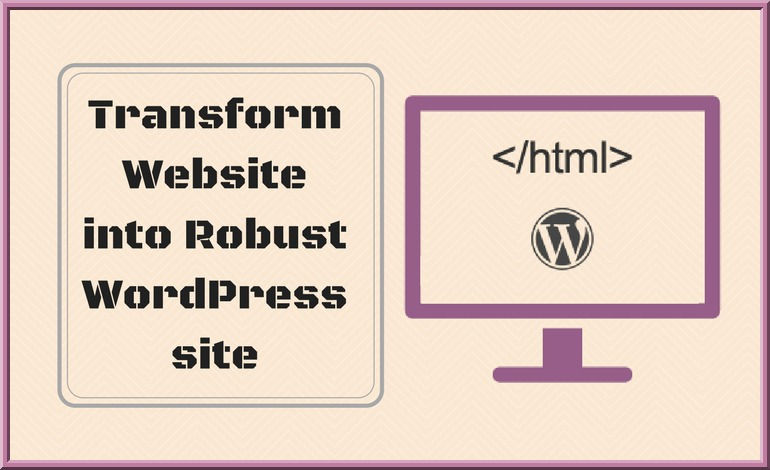
How to Convert HTML Website to WordPress
- Sep 19, 2017
- 4 min read
The days of traditional marketing are over. In today's fast, modern and rapidly changing world, entrepreneurs can't expect to reach out a large number of potential audience, explore business opportunities and generate the desired revenues if they don't have a fully-fledged, professional and eye-catching website/blog. A good website can help them to perform all these actions carefully and meet their business objectives easily. With the development of different Content Management systems, HTML websites have become outdated. There are many benefits of migrating your HTML website to the WordPress platform, such as SEO advantages, more security around the site, less recourse needed for website operation and maintenance, lots of scalability features, ease of use, built-in Blog, better control over the site, etc. Do you want to convert your HTML website to WordPress easily and conveniently without seeking the help of an HTML to WordPress developer? If yes, then follow the below-mentioned tips and tricks. All these will help you to transform your current site into a robust WordPress site:
1. Develop Your Website Blueprint In Advance Creating a website is a big task for any person or business organization. Before you start converting your HTML website to WordPress, you should have a competent website blueprint in advance. A good planning makes it easier for you to perform different tasks (inserting text, graphics, scripts into your page templates, the creation of web pages, website testing for different platforms, etc,) easily and fulfill expectations of stakeholders quickly. For example-you should decide the main function of your site on a new platform, daily visitors, contributors, different security access levels for each contributor, etc. An advance planning about all these will help you to implement these on your site easily while migrating to a new platform.
2. Create A Theme Folder And Required Files Create a new theme folder on your computer or laptop to store your theme files. Save it with the desired name you want to use for the theme. After this, you need to create new files in your code editor and save them for the time being for further editing. Don't make any silly experiment here. Style.css Index.php header.php sidebar.php footer.php
3. Copy The Existing CSS Into New Stylesheet If your intention is to create an amazing design, not to copy another design, then you must have some CSS. Just save those files before editing them. For instance, you may add the following to the top of your file: /* Theme Name: Replace with your Theme's name. Theme URI: Your Theme's URI Description: A brief description. Version: 1.0 Author: You Author URI: Your website address. */ Once you complete this, just paste your existing CSS below, save the files and close them.
4. Discrete The Current HTML Before starting the fourth step, you must know how WordPress works. WordPress makes use of PHP for calling and retrieving data from its database. When we talk about chopping up the existing HTML, we mean that you need to cut and paste parts of your existing code into different files that were created by so. So, helps WordPress to know where to display them. To do so, just follow the below-mentioned steps: First of all, open up the index.html file of the existing site, Highlight all things and copy paste it into the new header.php section, Just select everything in your sidebar and copy paste it into the footer.php file. Save the file and close it. Now, choose the things left in your index.php file and save that.
5. Finalize The Index.php File Here, you need to finalize the Index.php file and make sure that your files can address the other segments which remain available in other files you have created. Now, put the elements together once again. Just place the following line at the beginning of your Index.php: < ? php get _ header ( ) : ?> At the end, you need to put, < ? php get _ sidebar ( ) ; ?> <? php get _ footer ( ) ; ?>
6. Upload Your Theme Now As soon as your theme files are ready and stored in your new folder, just access your new WordPress install’s directory- put your new theme folder inside /wp-content/theme-go back to WP Admin > Appearance > Themes. You find a new theme here. Just check the other elements of websites as well and make sure they are okay. If everything is fine, just activate your theme and start using the site as usual. You can decorate your New WordPress site with the content belonging to the old site or upload the fresh ones as per your needs.
Final Words: Now, you understand the importance of converting your HTML site into a WordPress site. You can do that easily with the help of above guidance. If you are not able to do so properly, opt for HTML to WordPress conversion services provided by different digital companies.


Comments